
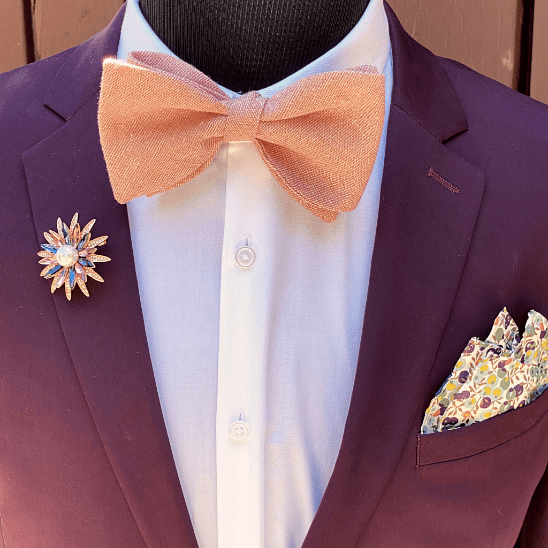
Knotting A Bow Tie
No matter your style, nothing says dapper quite like the quintessential bow tie. Self-tying your knot can be tricky at first, but with a little practice you’ll have a new style trick up your sleeve.
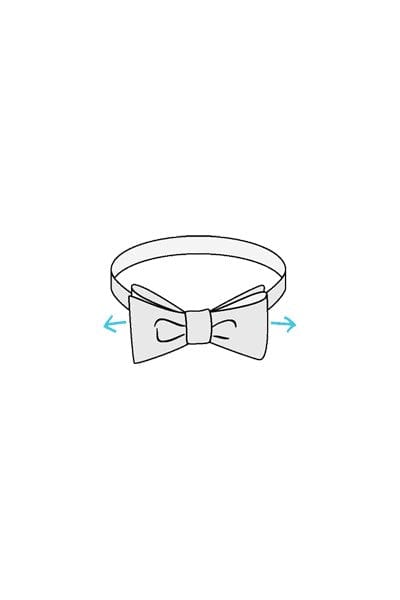
Start by adjusting the sizing tape to the appropriate size.
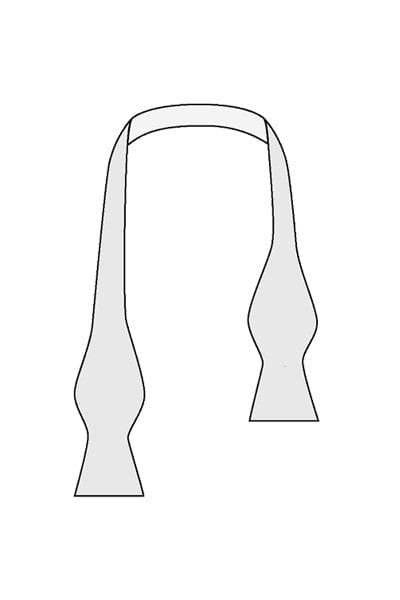
Place the bow tie around your neck and under your collar. The right side should hang slightly longer.
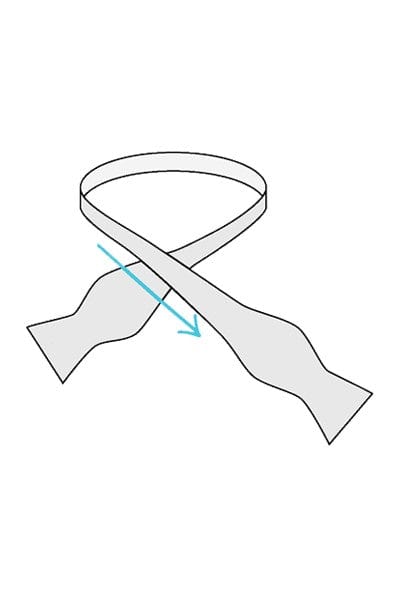
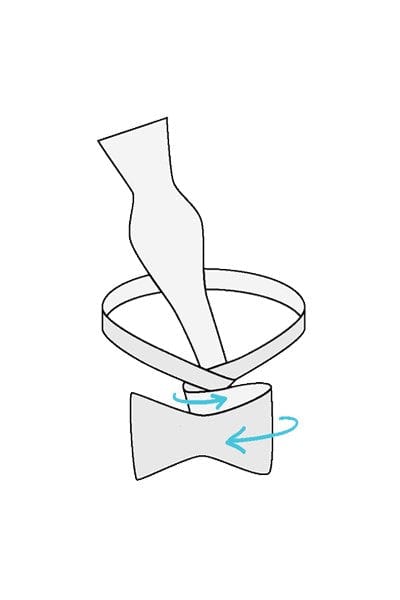
Now cross the long end (right) over the short end (left).
Pull the right side up behind the crossover to create a half knot… just like knotting your laces. Now give it a little tug to secure.
Fold the short end across the half knot. The center of the bow should be centered on the knot. Take a quick glance – you should see an early hint of a bow here.
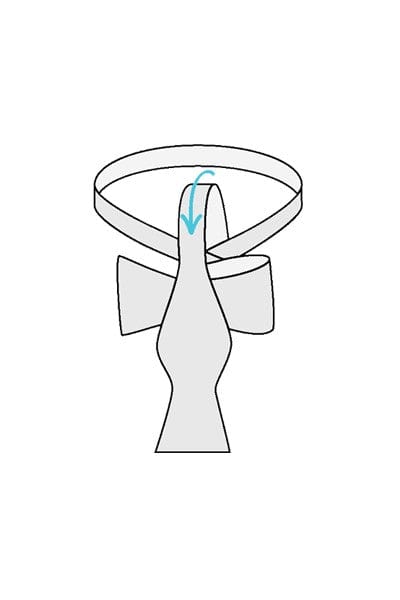
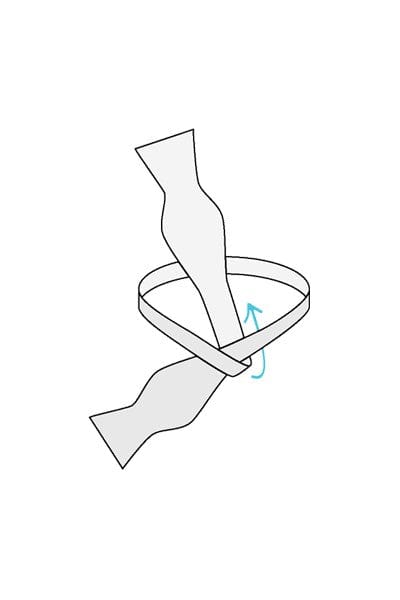
Allow the long end (held up by your face) to lay over the middle of your folded bow.
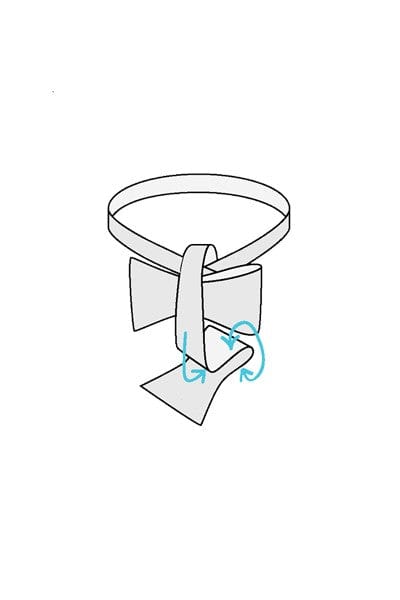
Now pull that longer end up and under the bow.Here’s where it gets tricky and you may get tripped up…but again, think about knotting your laces because the concept is the same.
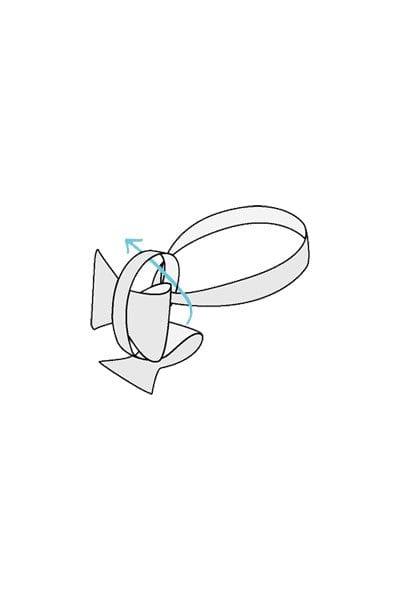
Pull both ends of the front bow forward. You should be able to feel a small loop created behind the bow with your right thumb. Push/pull half of the bow through the loop you’ve created. Think of the end goal here not perfection.

Now you have a bow…messy as it may be. Start by smoothing out your center ribbon. Then place an index finger in each loop to tighten and shape your bow to dapper perfection.
Now, go out and conquer the world


